Halloween is my absolute favorite holiday. There is something about the darkness and mystery of Halloween that gets my creativity flowing. For those of you who may have missed my tutorial over at The CSI Project last week, I just wanted to share a fun Halloween Project with you!
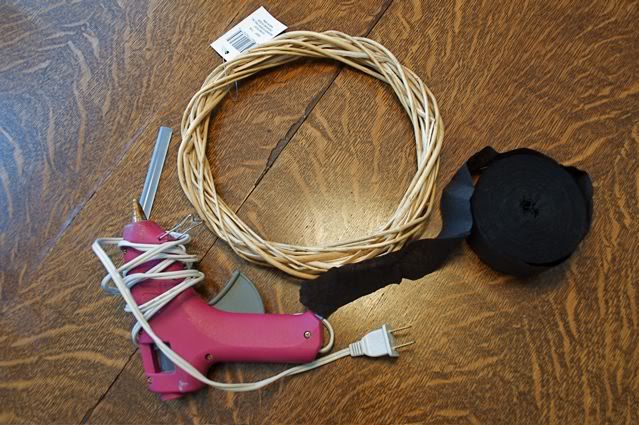
The supply list is simple (and cheap): A Wreath Form, Black Crepe Paper, and Hot Glue - that's it! You can also add a little sign, or any other embellishments, to make it your own.
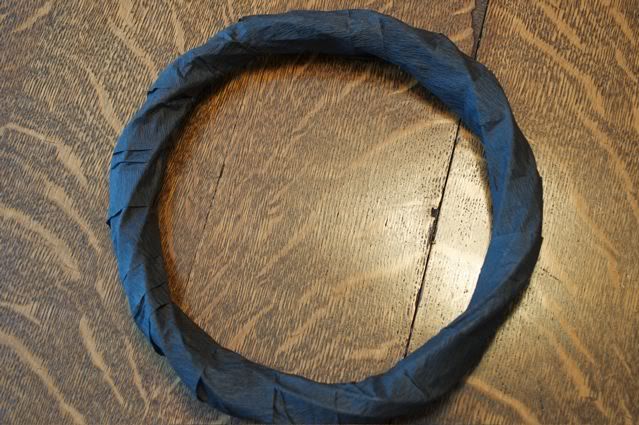
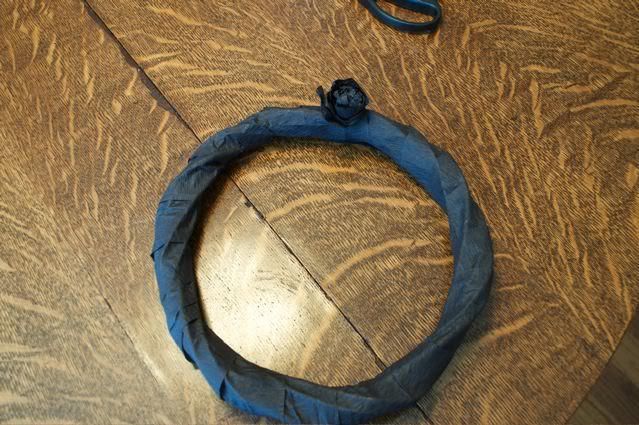
Cut a long piece of crepe paper and wrap it around the wreath form. To make sure it stays in place, add a dot of hot glue to the beginning and end of the wrap.
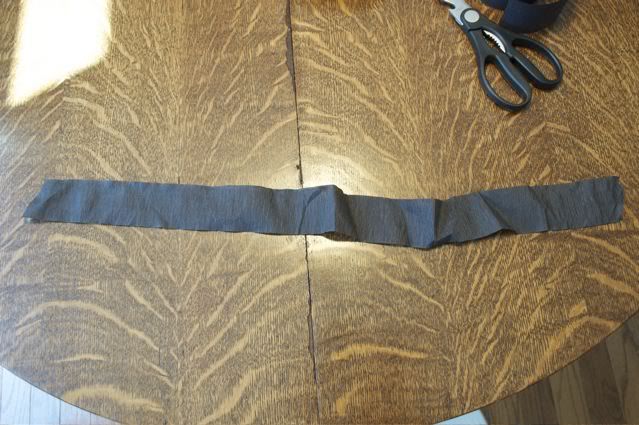
To make the flowers, cut 24" strips of crepe paper - there is no set amount that you will need - I cut a bunch in the beginning to have them ready, and then just added as I went.
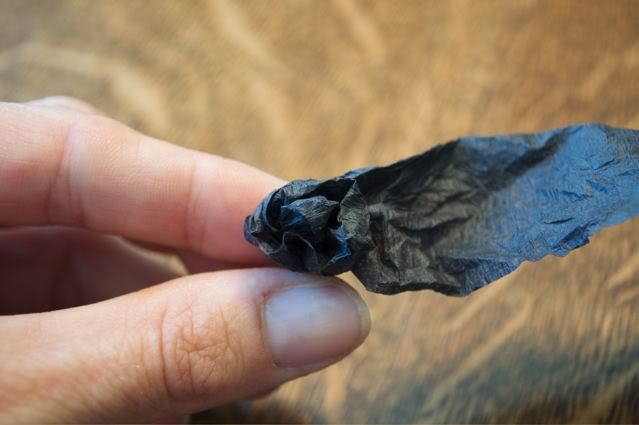
Start out by crumpling up the end of the paper, and then begin wrapping it around itself - twisting the bottom as you go. You will end up making a pointed end at the bottom.
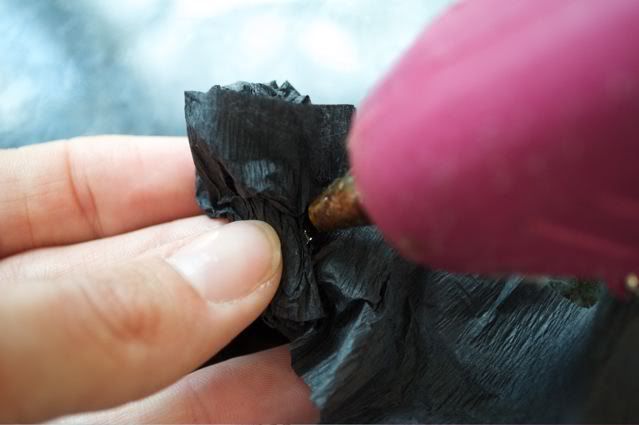
Dab a dob of hot glue at the base to secure the paper as you wind. I glued mine about every 2 times around.
Then, just keep on going around and around, gluing as you go until you have formed a flower.
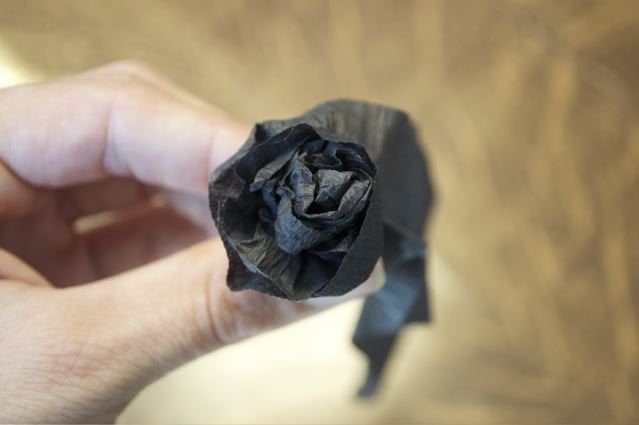
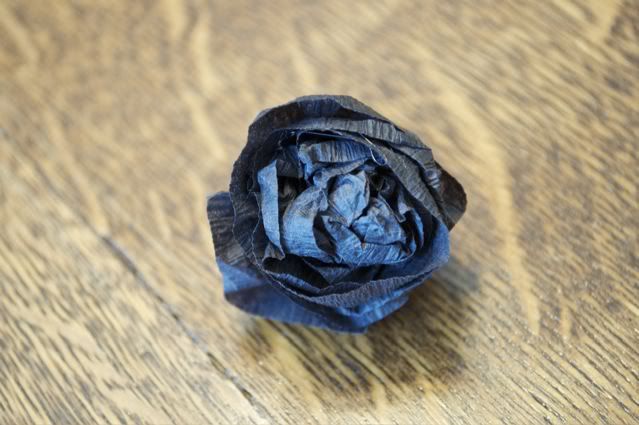
To set, wrap the tail around the base of the flower and secure with hot glue. It should look like this when you're done:
Finally, just start gluing all of your flowers to the wrapped wreath form.
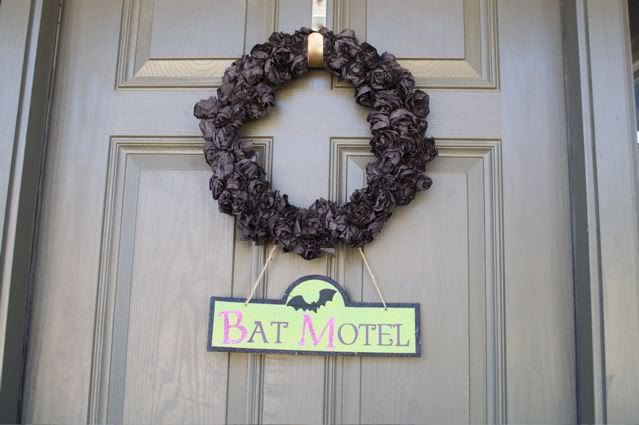
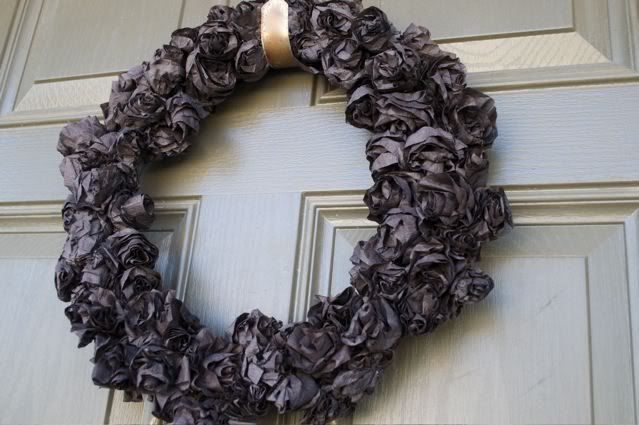
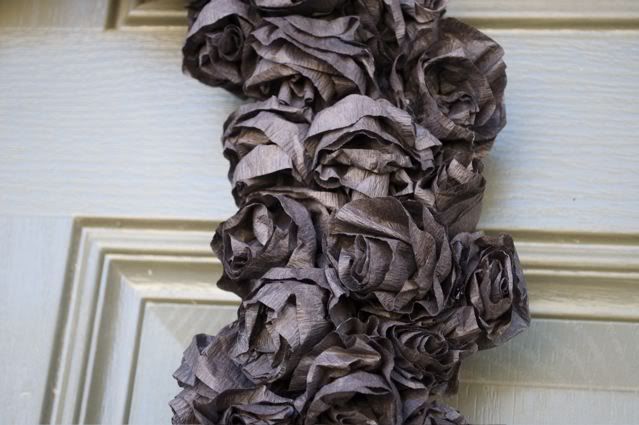
Try to keep them close together, and stagger them if possible so that it looks filled in. That way, all of the flowers aren't lined up in a row. When you are done, it looks like this!
To add something fun to the base of the wreath, I used floral wire to add a sign. I bought this one at Dollar Tree last year, but you could also add a homemade one as well!
I hope you enjoyed my tutorial! Happy haunting everyone!

